Remembrance Day online resources
Planning a Remembrance Day ceremony? Looking for accessible primary source materials? Developed for educators, this new digital resource includes artifacts, art, and documents from the Museum’s collections, as well as historical overviews and learning activities. This online module has content and suggestions for Remembrance Day ceremonies that are ready to use, or can be customized for your class, school or virtual event.
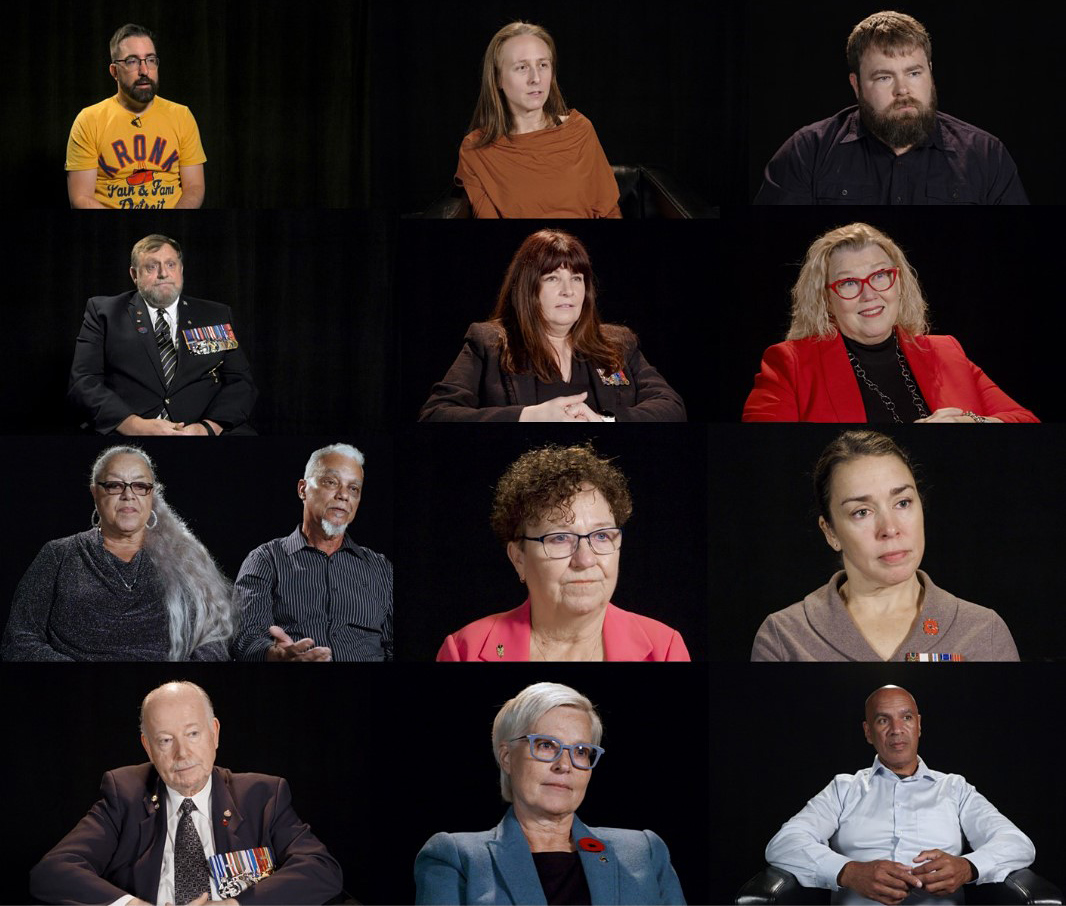
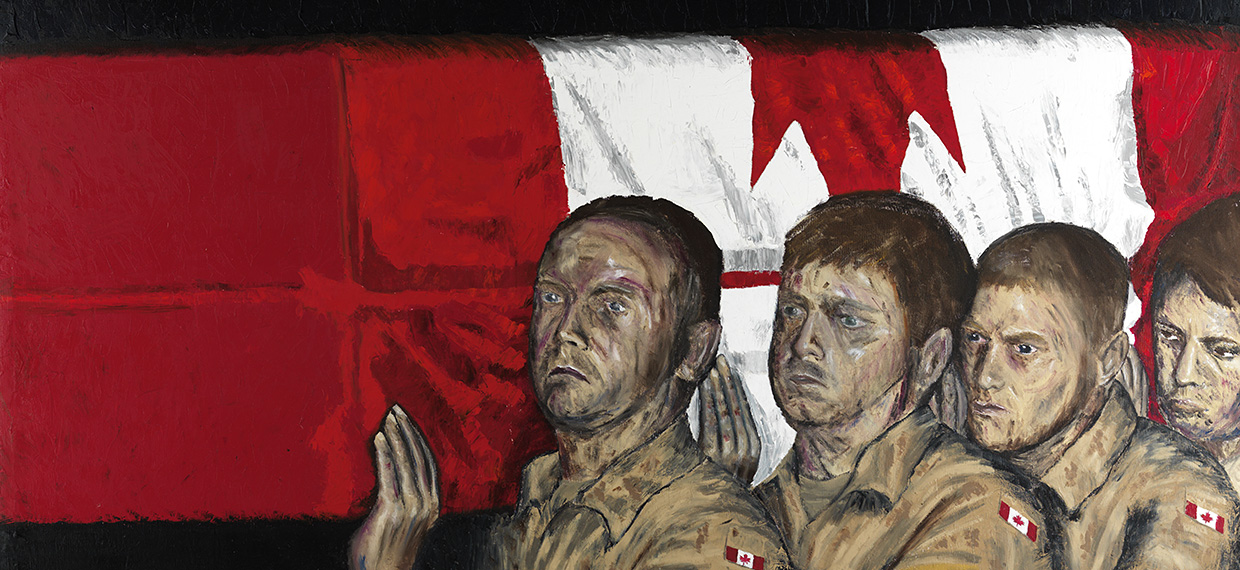
Stories From Canadian Veterans and Their Loved Ones
In Their Own Voices is an oral history project about Canadian veterans’ post-service lives from the Second World War to the present day. It consists of more than 200 interviews.
Curated by themes, the online exhibition showcases 50 short clips, historical context, images, and more.
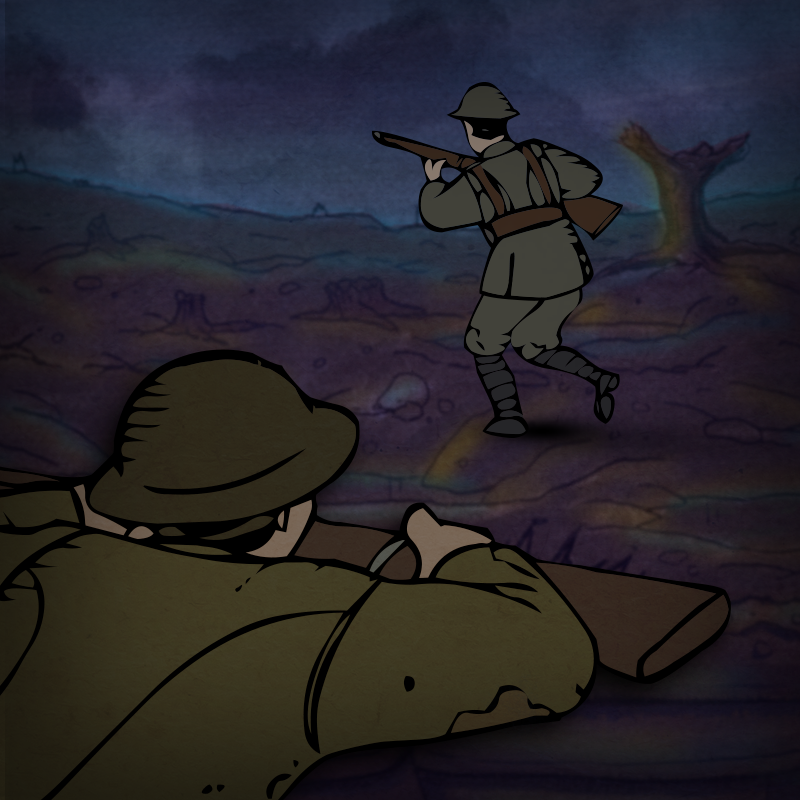
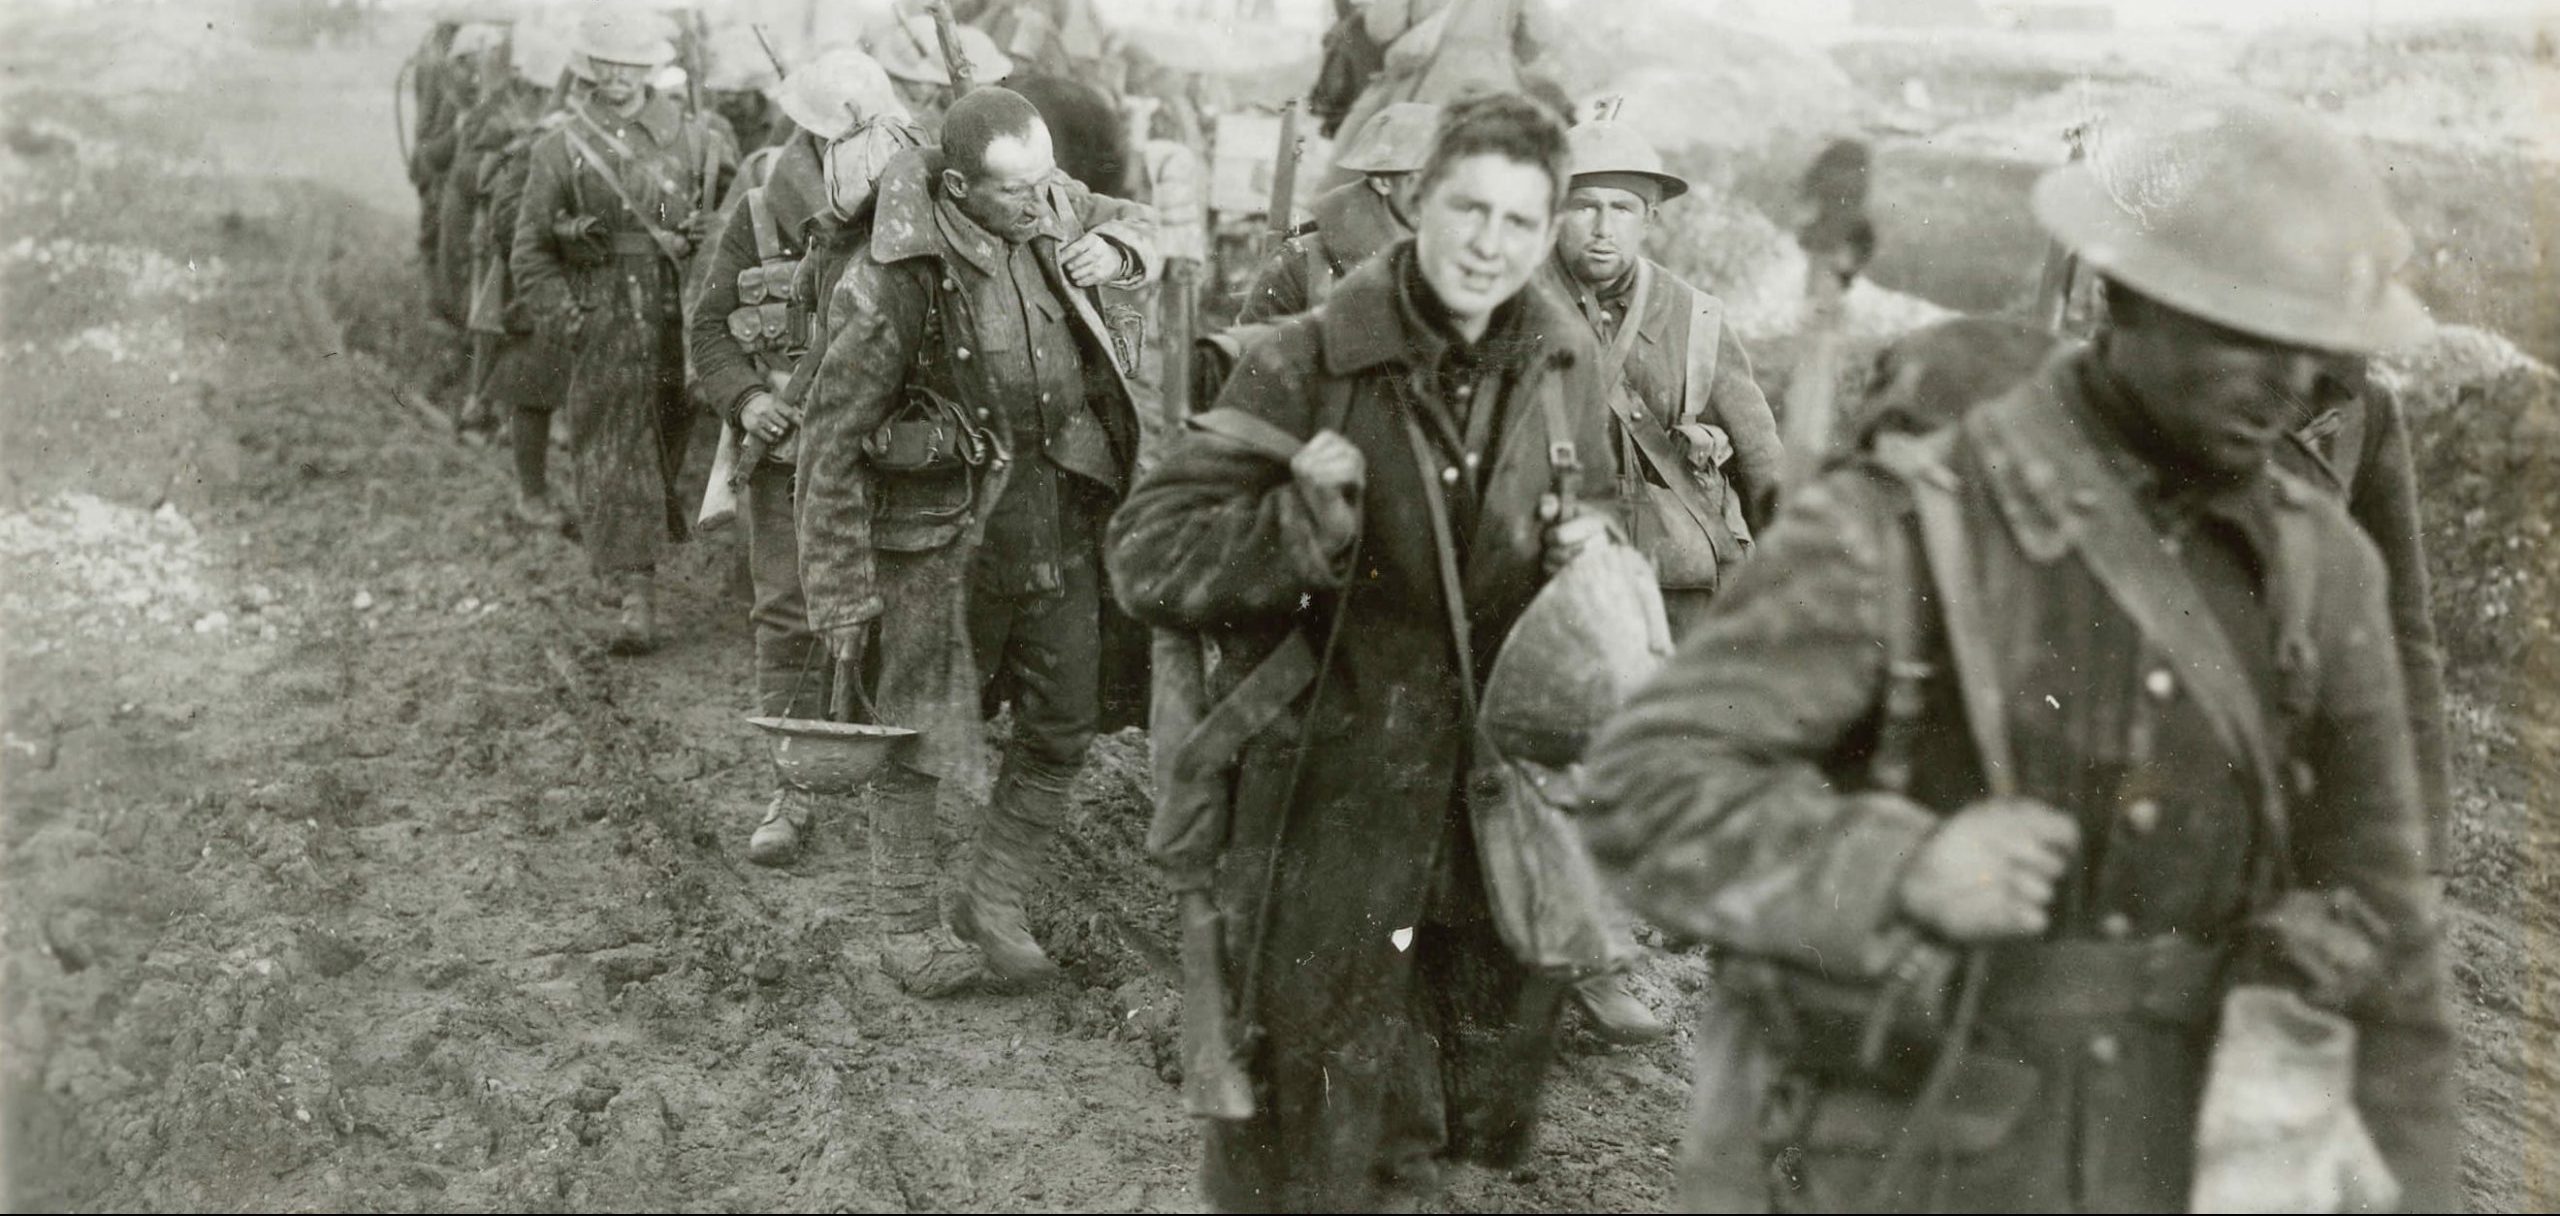
Over the Top
This web module enables intermediate students to experience life in the trenches during the First World War. Part history and part adventure story, Over the Top allows players to determine the outcome of the story by making decisions at key moments. This educational resource includes follow-up activities, maps, films, and document references.

Supply Line: Travelling Discovery Boxes
Explore teacher resources developed for the First World War and Second World War Discovery Boxes. Use the background materials, including personal stories and archival documents, and lesson plans on their own or in conjunction with the travelling education kit.
Canada and the First World War
A website, based on the Canadian War Museum’s vast collections, offers an authoritative and stimulating interpretation of the history of Canada and the First World War. Canada and the First World War offers access to over 700 interpreted artifacts, including photographs, art, letters, and diaries, as well as over 6,800 additional images. The unparalleled depth of Canadian subject matter includes a comprehensive range of topics and lesson plans, primary resource packs, book lists, and recommended links.
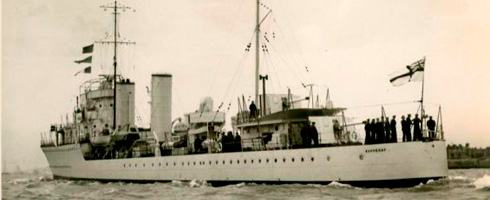
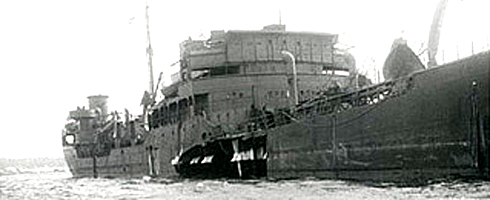
Canada’s Naval History
A website rich in over 800 unique artifacts, photographs, art, posters, ships models, plans, and audio-visuals telling the compelling story of Canada’s navy from its creation in 1910 to today.
Democracy at War: Canadian Newspapers and the Second World War
This module enables senior students to search a digitized collection of 144,000 newspaper clippings describing events of the Second World War as they happened. Fifty-five short historical articles introduce the main facts, as well as some of the conclusions resulting from historical research and analysis undertaken since the Second World War. Democracy at War is an unparalleled online resource for research projects and units of study.
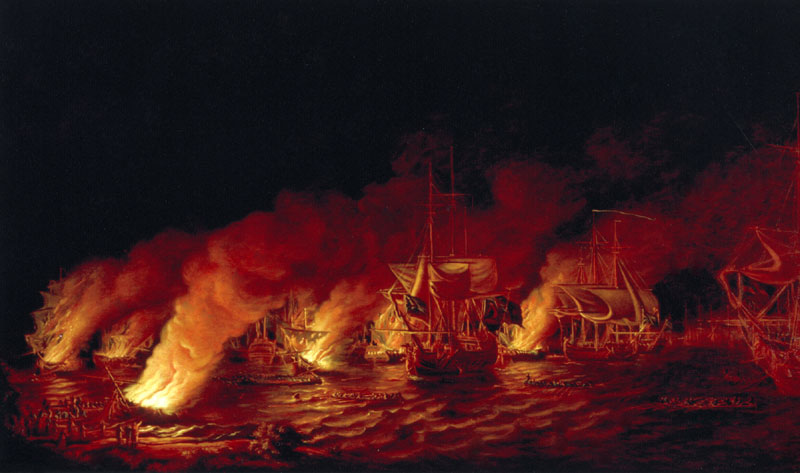
1812: Virtual Exhibition
Experience the War of 1812 online from the perspective of each of its major participants—Americans, the British, Canadians (including First Peoples), and Native Americans. Using historic objects and images, this virtual exhibition allows you to draw your own conclusions and share your own perspective on a major historical event.
The Seven Years’ War (1754–1763)
The Seven Years’ War becomes humanity’s first world war as the French and British empires wage a titanic struggle for imperial dominance. In North America, the war leads to the British Conquest of Canada, the American Revolution, and the first step towards recognition of Aboriginal Title by the Crown.
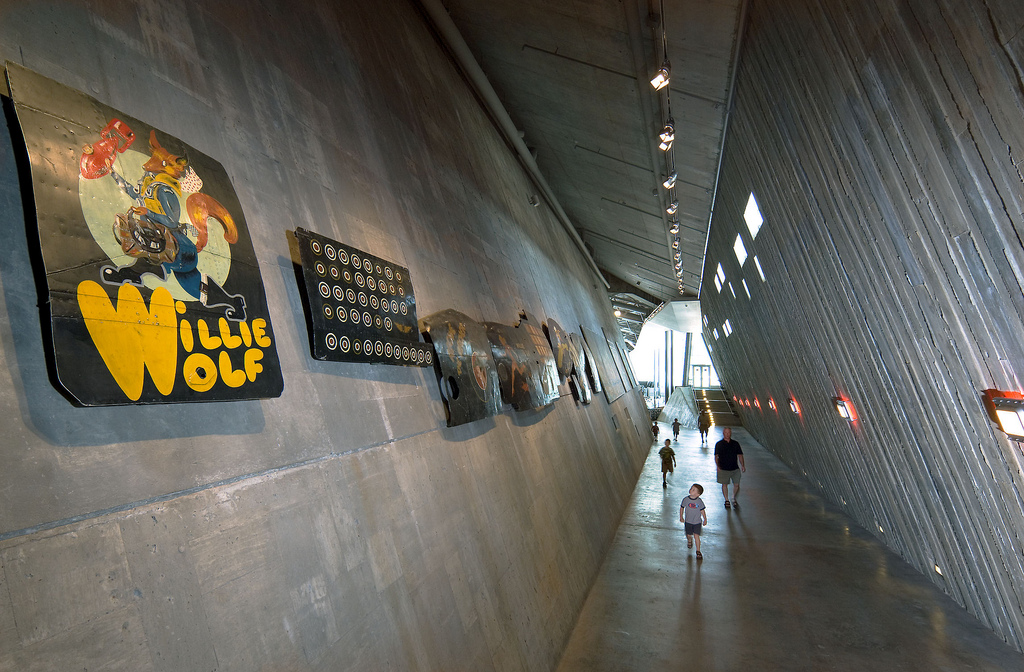
Dispatches: Backgrounders in Canadian Military History
A collection of essays on a variety of subjects in Canadian military history.